Three Cards, One Background featuring Janes Doodles Unicorn

Hey, friends!  I'm back to show you what I created using that fabulous ink blended rainbow panel I made in my last post!  This adorable Unicorn set by Janes Doodles has been calling to me for FOREVER and I was so stinking excited to use it on these projects!


I was able to create three cards using pieces die cut from that rainbow panel, plus my kiddo cranked out two cards using more pieces AND I still have some left!  It's nice when you can save yourself time by creating something large to be used on multiple projects!


I wanted to keep these cards fairly clean and simple, which is tricky for me!  I tend to me on the over complicated side of things (this trait carries through to most of my life, y'all) but I wanted the rainbow background to really be the focal point.


And so, I did my best to embrace the white space!  I think it turned out pretty darn cute overall!


To see more on how I created these beauties you can check out my tutorial video below.  You can also see how I created the background in my previous blog post.


Thank you all so much for joining me and I hope you enjoy your spring break!  See you next time!
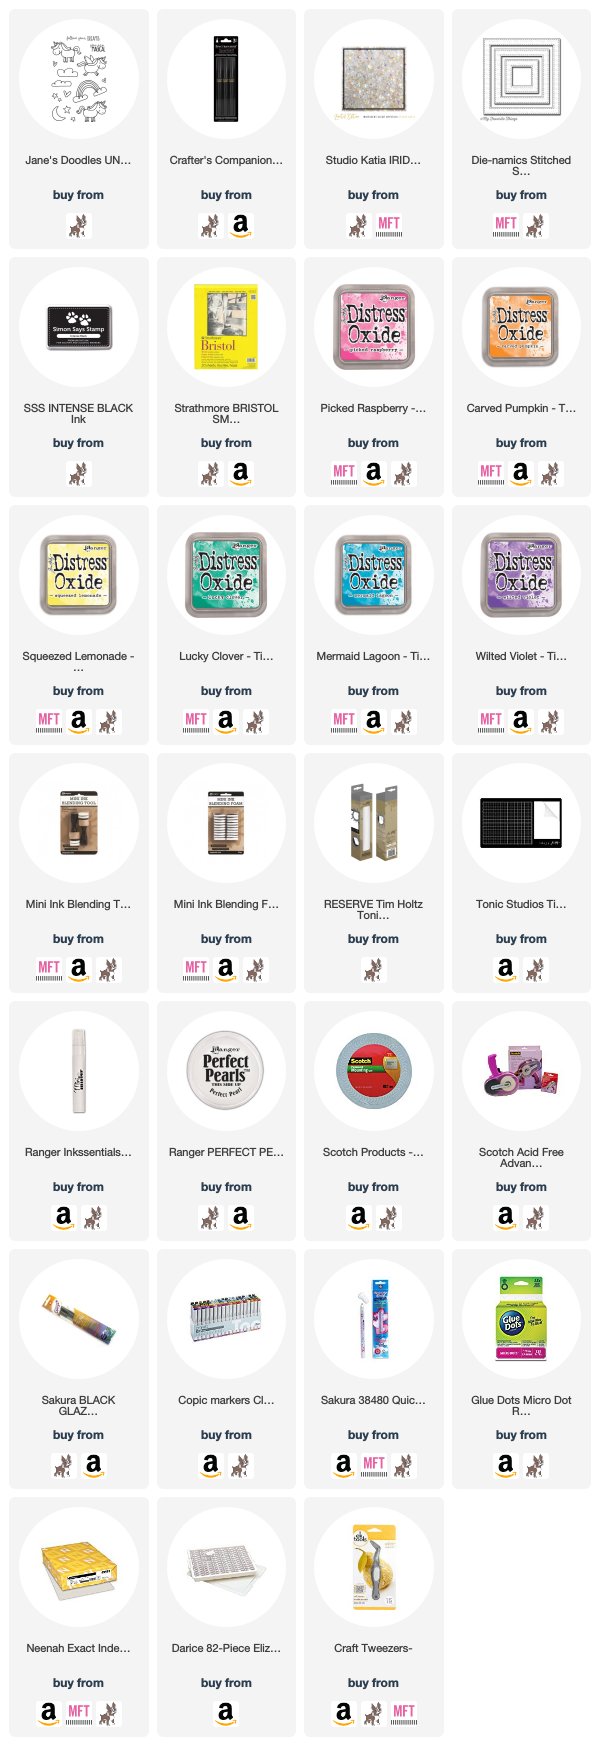
SUPPLIES
*Affiliate links are used at no additional cost to you.  Thank you for your support.

Creating a Rainbow Background with Distress Oxide Inks

Hello, friends!  I hope you're all having a wonderful start to Spring Break!  It is pouring down rain here in typical Oregon fashion but I'm not gonna lie, I have to work so I don't mind!  Hubby and kiddo are bummed though!


I thought I'd brighten up your day with this super fun and easy to create rainbow background!  I am really loving the new(ish) Distress Oxide Inks and the way they blend so smoothly!


I couldn't resist creating a giant rainbow background to use on several cards.  The colors are so vibrant!  Add a little Perfect Pearls mist for some extra shine and this background is downright magical! Check out the video tutorial to see how I created it!  And stay tuned to see three cards that I created using the background in my next blog post and video!


Thank you all so much for stopping by and have a wonderful weekend!

SUPPLIES
*Affiliate links used at no additional cost to you.  Thank you for your support!

Stacking Stamped Images featuring Honey Bee Stamps

Hello and welcome back!  I am so excited to be participating in the Honey Bee Stamps Buzzworthy Challenge over on Facebook!  The theme for this challenge is BEES!!  And let me tell ya, there are some fabulous choices!  I opted for the Build-A-Bee and Bee-You-Tiful stamp sets and created a fun, tall card for one of my favorite people!  She's a true queen bee!


I had an absolute blast Copic coloring these adorable bees!  And adding those face, so much fun!  Check out the video tutorial to see how this card came together!


If you want to participate in the Buzzworthy Challenge you can head to their Facebook group and join in the fun!


Thank you all so much for stopping by!  I so appreciate all your support!  I'll be back soon with another fun project to share!


SUPPLIES

One-Layer with Dimension featuring Avery Elle Skating By

Hello, friends!  Today I am sharing a set of cards featuring my new fave technique - ink blending with Distress Oxide inks!  Man, am I ever bummed that I am late to this party because I am seriously obsessed with how well these yummy inks blend, especially on Bristol Smooth White card stock!


I am continuing my goal of using supplies that I have on hand instead of buying new ones and I gotta tell ya, it's so fun to rediscover the excitement I had for these stamp sets when I purchased them!  I think this Skating By set from Avery Elle is absolutely adorable and I literally cannot believe that I have not used it yet!


I started these cards by ink blending over a stencil with those luscious Distress Oxide inks - you guys, they seriously blend SO WELL!!  If you have every experienced ink blending frustration I highly recommend you snag yourself a few of these puppies and some Bristol Smooth White card stock and give it a try. 


Now, what makes these one-layer cards extra special is the little bit of shadow that I created around the masked areas.  This gives the illusion of depth and makes it seem as though the white circle and the balloons are popped up off of the card!  Pretty neat, eh?  To see how I achieved this affect and how I used my Zig Clean Color Real Brush markers to color these cuties, take a peek at the video below!


Thanks so much for stopping by hanging with me today!  For a full list of supplies used, keep on scrollin'!  I appreciate you all and will see you again soon!


SUPPLIES
*Affiliate links used at no additional cost to you.  Thank you for your support!

Simple Copic Coloring featuring Doodlebug So Punny & Simon Says Stamp Foodie Friends

Happy Saturday, friends!  I am totally late to the party but I figured I'd share these cute little Valentine's cards with you anyway!  This So Punny collection from Doodlebug has completely stolen my heart and I had so much fun creating these nice and easy cards!


 I wanted to brush up on my Copic coloring skills a bit and this Foodie Friends stamp set from Simon Says Stamp seemed like the perfect way to do that!  The puns just make me smile!  


Check out my video to see how I created all seven cards and spruced up some envelopes to coordinate!


 Thank you so much for stopping by and I will be seeing you again very soon with some more fun cards!  


SUPPLIES

No-Line Watercolor featuring HoneyBee Stamps

Hello, friends!  Long time, no see!  I am so excited to be back in the craft room and while I'm not ready to make any promises about how often I'll be able to get a video out, I can promise you that I am here to stay!  And I decided to dive in with both feet and create a card that took me forever to create!  Which was exactly what I needed - a good long stretch in my happy place!


For this card I did a simple no-line watercolor technique using my Distress Markers with some gorgeous HoneyBee Stamps images.


I love how this turned out!  It looks hand-painted and I am so pleased with the results.


To see how I created this card take a peek at my video tutorial.

Thank you all so much for being patient and sticking with me!  I am planning on revamping my blog soon so that I can be more organized and communicate with you all more often so stay tuned for that!

~~~~~~~~~~~~~~~~~~~~~~~~~~~~~~~~

SUPPLIES
(Affiliate links used at no additional cost to you.  Thank you for your support!)